If you just want the sample, right click this link, save as, rename to zip and extract.
This post is in a way a continuation of an earlier post, which explains how you can achieve an Ajax File Upload with ASP.NET. Only in this post I’ll focus on how to achieve this using HTML5 Drag and Drop features from a Windows Explorer.
Note: IE9 or below have limited Drag/Drop support so don’t expect this solution to work on those browsers.
Note 2: The FileUpload and jQuery used in this post are not the latest, so some changes maybe required to make this work well with newer versions.
In order to implement drag and drop to an existing File Upload solution, all you have to do is bind three events, two of them toggle CSS classes and have nothing to do with the upload itself, and one of them handles the actual ‘drop’. It’s not that the CSS classes are mandatory in order to get upload to work, it’s simply one of the ways to provide a feedback to the end-user that a drag operation takes place.
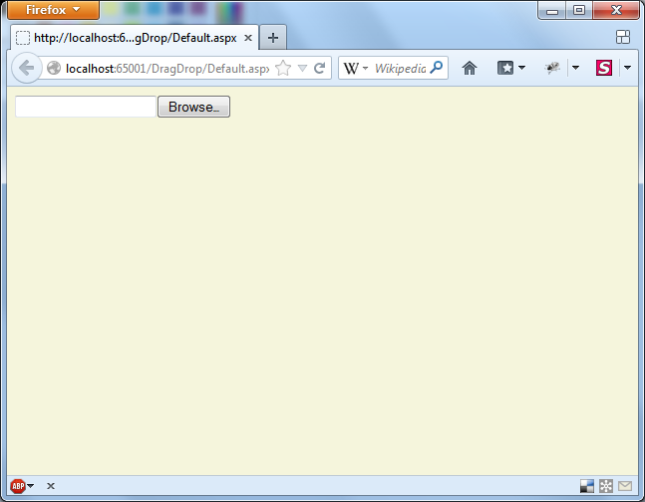
Before dragging, the page looks like so:

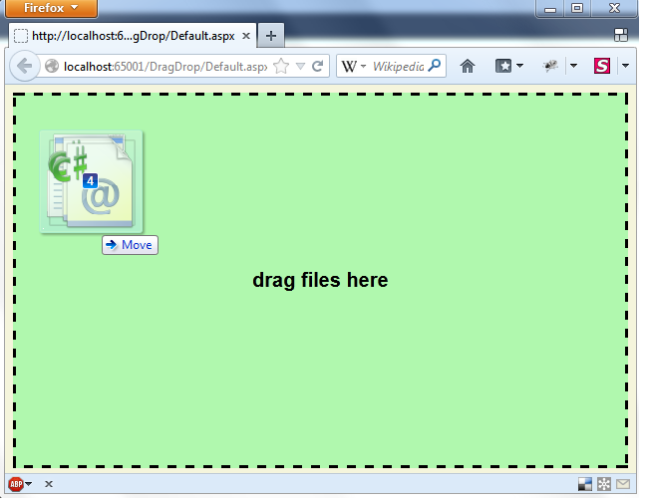
During the drag operation CSS classes provide a feedback to the user:

The JavaScript used here:
$(function () {
    // file upload
    $('#fileupload').fileupload({
        replaceFileInput: false,
        formData: function (form) {
            return [{ name: "name1", value: "value1" }, { name: "name2", value: "value2"}];
        },
        dataType: 'json',
        url: '<%= ResolveUrl("AjaxFileHandler.ashx") %>',
        done: function (e, data) {
            $.each(data.result, function (index, file) {
                $('<p/>').text(file).appendTo('.divUpload');
            });
        }
    });

    // handle drag/drop
    $('body').bind("dragover", function (e) {
        $('.divUpload').addClass('drag');
        e.originalEvent.dataTransfer.dropEffect = 'copy';
        return false;
    }).bind("dragleave", function (e) {
        $('.divUpload').removeClass('drag');
        return false;
    }).bind("drop", function (e) {
        e.preventDefault();
        $('.divUpload').removeClass('drag');
        var list = $.makeArray(e.originalEvent.dataTransfer.files);
        $('#fileupload').fileupload('add', { files: list });
        return false;
    });
});
The code it quite self-explanatory, but nevertheless here’s a short explanation:
- Lines 3-15: this is the same code from the previous post. It uses the jQuery FileUpload plugin for Ajax file upload.
- Lines 18-21: handle a “drag start” event. This simply adds a CSS class to provide a feedback to the user.
- Lines 22-24: handle a “drag leave” event, and removes the CSS class.
- Lines 25-30: handles the “drop” event. This is the important stuff. We remove the CSS class that provides a feedback on the dragging, take the select files and add them to the File Upload plugin, which starts the upload. Note that the original files object from the event is converted to an array (“list”), and only then the information is passed on to the File Upload plugin. If you skip this the plugin might not work.
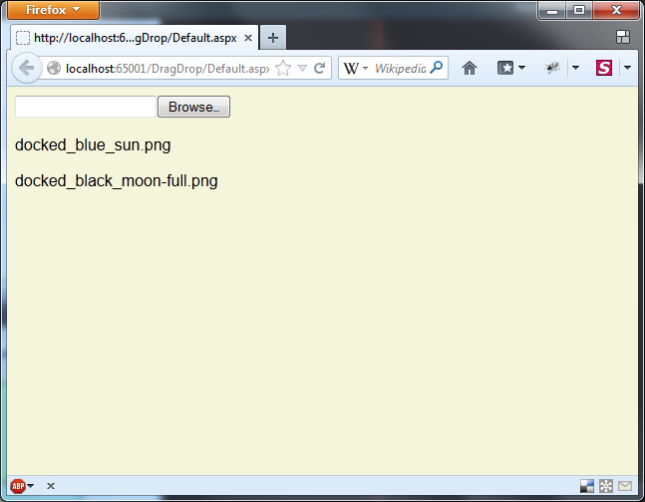
- Lines 11-13: When done, the file names will be displayed as HTML elements. Change this to whatever you require.
The HTML looks like this:
<div class='divUpload'>
    <div class='file'><input id="fileupload" type="file" name="file" multiple="multiple" /></div>
    <div class='dropzone'><div>drag files here</div></div>
</div>
Not much here either. Mainly different DIVs which are displayed according to the drag/drop events.
- Line 2: The original file input field.
- Line 3: The DIV which appears upon drag.
Finally there’s the CSS. I have implemented it one way but naturally this can be done completely differently. The “trick” is to add the “drag” class on the top DIV, which causes the browser to use different CSS rules on the nested DIV elements. The file input field becomes hidden and the drag feedback is shown.
body, html, .divUpload
{
    height: 100%;
    margin: 0;
    overflow: hidden;
    background-color: beige;
}

.divUpload
{
    margin: 8px;
}

.divUpload.drag .file
{
    display: none;
}

.divUpload.drag .dropzone
{
    display: table;
}

.dropzone
{
    border: 3px dashed black;
    display: none;
    font-size: 20px;
    font-weight: bold;
    height: 95%;
    position: relative;
    text-align: center;
    vertical-align: middle;
    width: 99%;
    background-color: rgba(37, 255, 78, 0.33);
}

.dropzone div
{
    display: table-cell;
    vertical-align: middle;
}
- Line 27: The dropzone is not hidden by default.
- Line 16: When dragging takes place, the default file field is being hidden.

rieshellin
19/03/2013 at 09:34
Great post,,, Very informative
evolpin
19/03/2013 at 15:45
Thanks!
Thierry
10/10/2014 at 16:33
Hello, i have ie11 but the drag and drop does not work. I have no image in the Temp folder and no file name written after dropping.
The upload buttn works fine but not the drag&drop So sorry it looked fine
Fredy
24/10/2014 at 02:30
Hi! Thank you for the tutorial. Do you know how to set data for values from a input textbox in: formData: function (form) {
return [{ name: “name1”, value: “value1” }, { name: “name2”, value: “value2”}];
},
? Thank you!